
My first art lighting project was a collaboration with Peter Hazel to create Niloticus, a 40-foot ceramic tile and glass crocodile that was displayed at Burning Man 2019. Although the 2020 and 2021 Burns were cancelled, I’m working with Peter again to create an artwork for the 2022 event in late August. His plan is to create a large glass and concrete sculpture of Pele, the Hawaiian goddess of volcanoes and fire.
Rather than wait until the project is complete to write about it, this time I thought I’d blog in “real time” while it’s being constructed. So while I write this, I’m sitting next to Peter while he works, having completed everything I needed to do today. I hope this will give you some behind-the-scenes insight into the highly glamorous and well-compensated world of Burning Man art (that was some serious irony in case you weren’t sure). Just to help paint the picture, I’m in my grubbiest work clothes, sipping cheap wine from a red Solo cup.
Large sculptures like those shown at Burning Man can be quite expensive, with the materials cost alone in the 10’s of thousands of US dollars. To help defray the costs, the Burning Man Organization (the BORG) has an Honoraria program that provides grants to about 70 of the over 700 applicants per year. Part of the process is to provide the art grant committee with a proposal that includes drawings, computer renderings, or better yet, a small-scale model of the proposed artwork. Typically, Peter builds a model, known as a maquette, to improve his chances of getting an Honoraria (and his track record is quite good).
The proposal is due at noon tomorrow, and Peter is sweating bullets right now since the Pele maquette still needs many more hours of work. He won’t have time to deliver it to the committee in San Francisco, so a video will have to suffice.

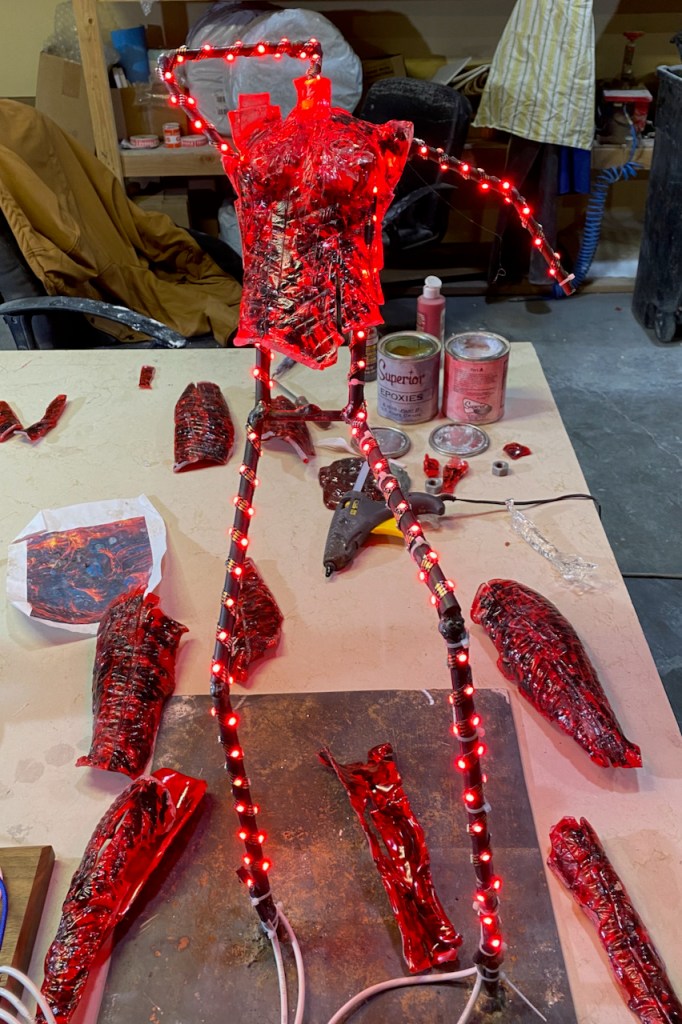
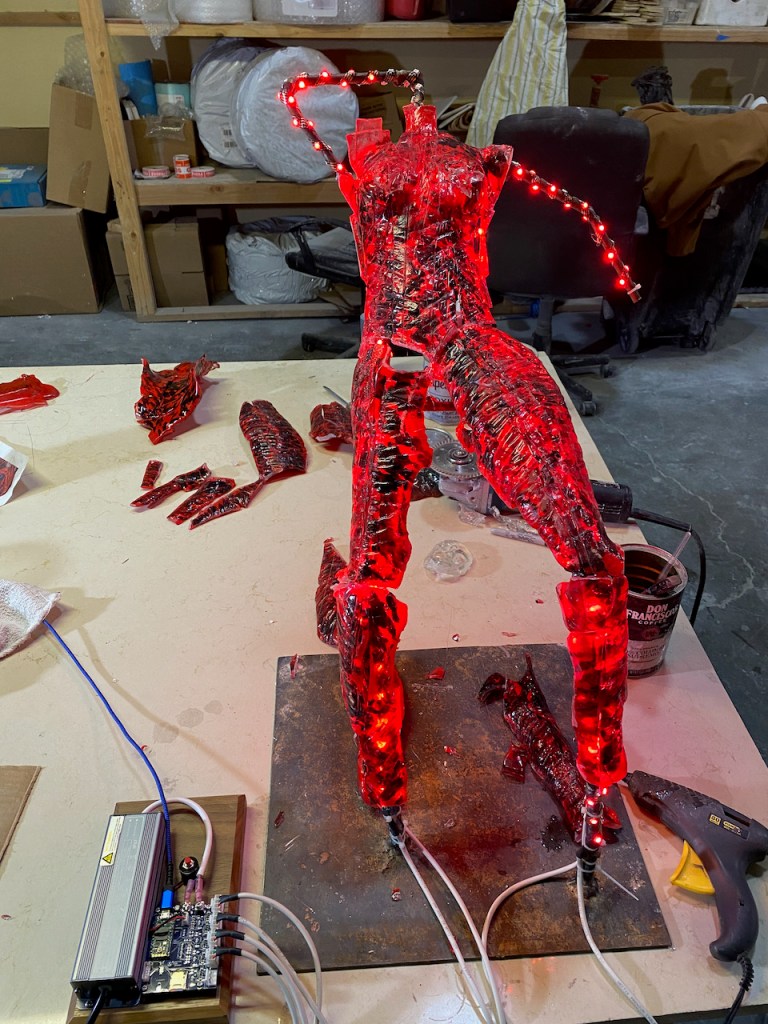
The maquette’s “skeleton” is constructed from welded steel bar attached to a baseplate. To provide interior lighting for the glass body, WS2815 LED strips are tightly wrapped around the bars. The LED strip manufacturers definitely don’t recommend this technique, but I was careful and tried not to apply too much pressure as I was wrapping. One LED cracked but I was able to replace a small section to fix it. In any case, we don’t plan to use this technique for the full-scale Pele.
I’m again using my OpenRocket LED controller, the last one that I have parts to build. I mounted it and a 12V 100W power supply to a wood base made from some nice walnut that I had in my wood shop. I also mounted a pushbutton switch that will be used to adjust the brightness, with each press cycling through three pre-defined levels.

For this project I only needed a subset of the board’s capabilities, so I didn’t load most of the unnecessary components. Other than the switch, I’m only using four addressable LED outputs. Two outputs are used to drive the the strips on the right and left sides of the body. The last 19 pixels of the right side strip will be inside Pele’s head, so the firmware allows these to be controlled independently.
The base will be covered with a “volcano” made from glass and concrete, and another LED output is used to drive some 12V 3-LED “signage” modules that I had lying around.

The fourth LED output is used to drive two high-intensity 3W RGB addressable LED modules that I bought a long time ago from AliExpress. These are used as illuminators for side-emitting fiber optic strands that will be wrapped around Pele’s copper wire “hair”. I mounted these to small plywood squares and MacGyver‘ed a bracket to hold a bundle of five fibers directly over each LED.
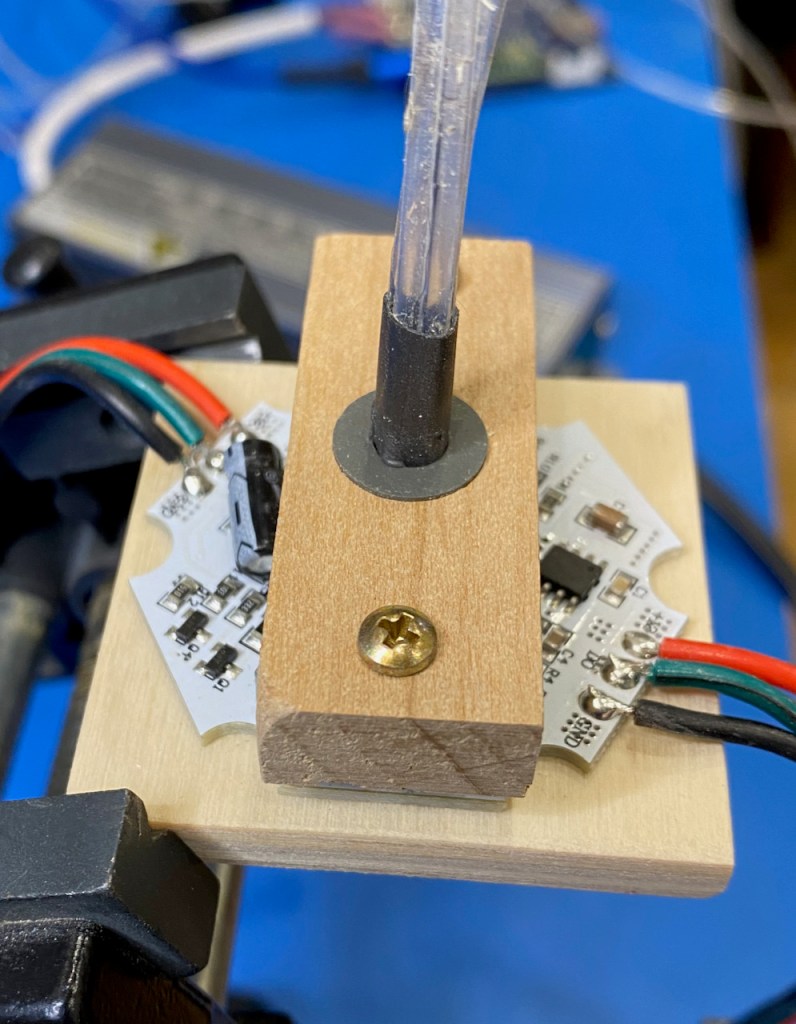
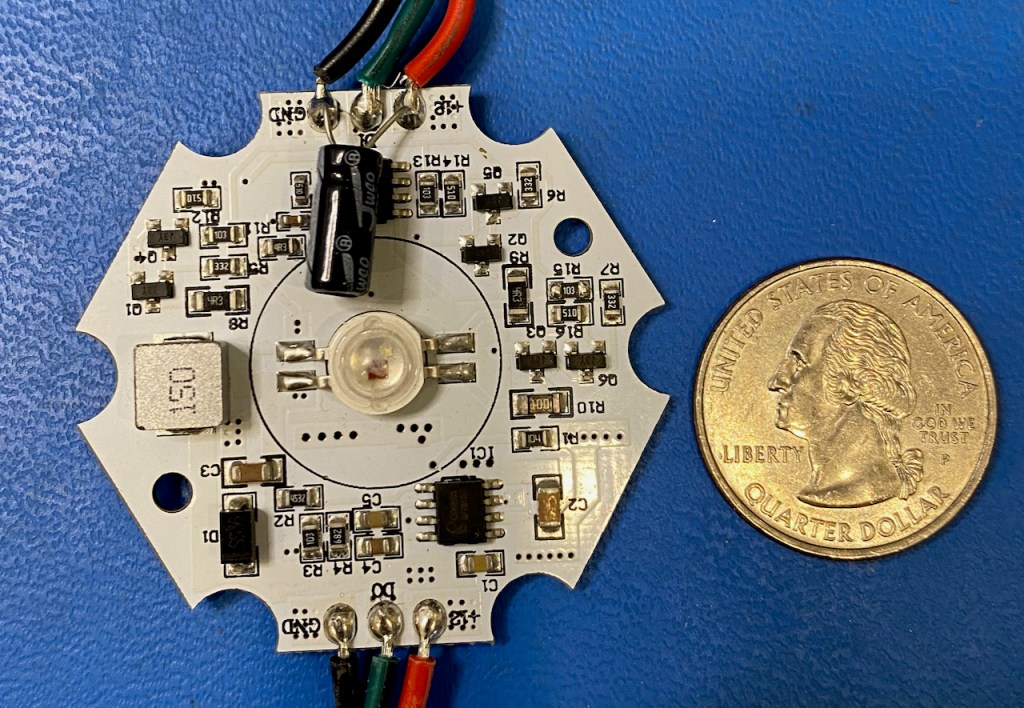
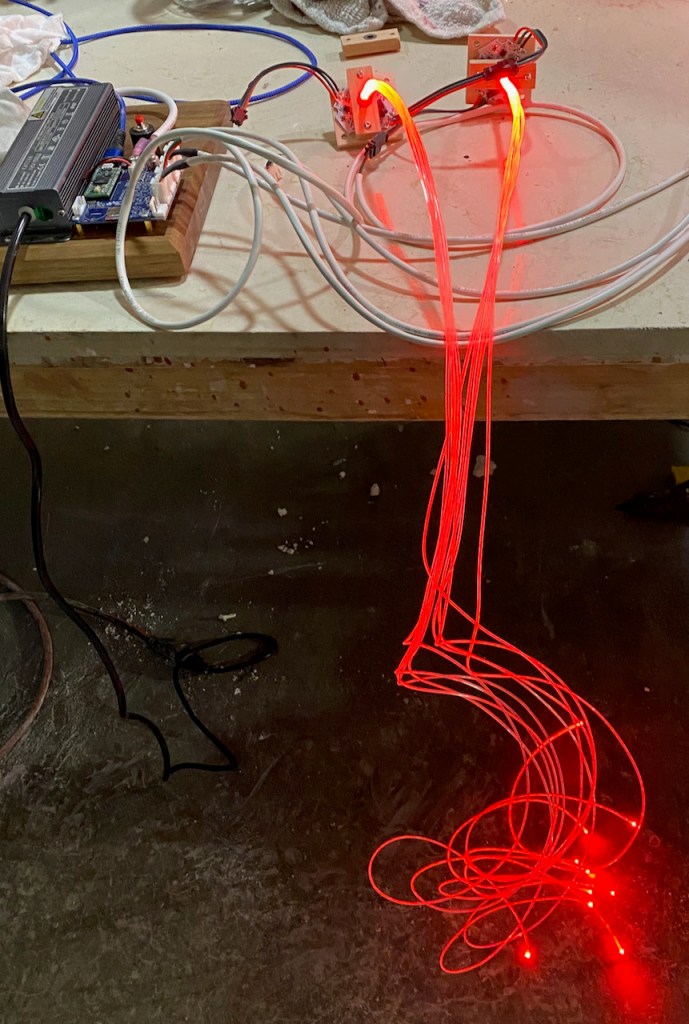
This fiber-illumination approach works pretty well, especially if the fibers ends are cleanly cut and polished. Unfortunately, the LED modules are pretty unreliable, and three of the five that I purchased have failed. I won’t be buying these again, and in the future will instead use a variation of my FidoLight 10W RGBW spotlight as a fiber illuminator.
For the lighting effects, Peter wanted wanted something that looked like glowing red-hot lava in the base, and flames traveling up the body. I hadn’t yet done any flame-type effects, and figured that I’d need something fairly sophisticated. But it turned out that my quickie “test” effects look pretty good. For the base LEDs, I apply sine-wave brightness modulation, where each module has a randomized phase angle offset. The color and modulation frequency/amplitude are controlled with a FireScript command. The hair effect is basically the same, but without the phase randomization. For each side of the body, I apply sine-wave modulation across the length of the strip, with controllable wavelength. The sine wave amplitude at the position of each LED modulates not just the intensity, but optionally the hue and saturation as well, in programmable amounts. The flame motion is achieved by changing the wave’s phase angle at a programmable rate (the flame speed).
Since the glass used to form Pele’s body is painted translucent red and black on the backside, and because the red paint pretty effectively filters out other colors, the options for the LED light colors are pretty limited. I ended up using using pure red everywhere but the head, which is yellow-orange.
OK, enough words for now. Here are some photos and videos to show our progress over the course of the evening (so far…). More updates on this project coming soon!


This project has great bones. I’ll track your progress with interest. I just saw your post the other day re:openrocket. That interests me as well though way more sophisticated than I can even grok. Carry on!
LikeLike
Did you create the 2 -D image?
LikeLike
No, I’m not nearly that talented. Peter Hazel found the image online last year, but I’ve never been able to trace it back to an original source.
LikeLike
Just found the original artist ~ Artwork by Alexander Mokhov 🔥 ~ https://mokhman.artstation.com/projects/ky5d6?album_id=2948974
LikeLike